Installing a Certificate
X.509 certificates are required for certain authentication options when setting up user access to Syniti Data Replicationvia the User Settings dialog. When choosing either the UserName Authentication or the Certificate Authentication options, you need to generate and install a security certificate. Typically, certificates are obtained from a trusted external commercial certificate authority. Identify an X.509 certificate provider through your company's IT department or using a web search.
Installing
a Certificate for UserName Authentication
Installing Certificates for Certificate Authentication
NOTE: If you set up a user ID with UserName Authentication, or Certificate Authentication, you will not be able to use Syniti DR until the certificate is correctly installed. Generate and install the certificate before setting up authentication.
Certificate Requirements
The certificate must come from a trusted certificate authority and be compatible with X.509 standards. The certificate name must be DBMoto.
Installing a Certificate for UserName Authentication
-
On the system where the Server Agent is running, open a Microsoft Management Console (MMC) from the Windows Command tool by typing mmc.exe at the command line.
-
In the MMC console, from the File menu, select Add/Remove Snap In.
-
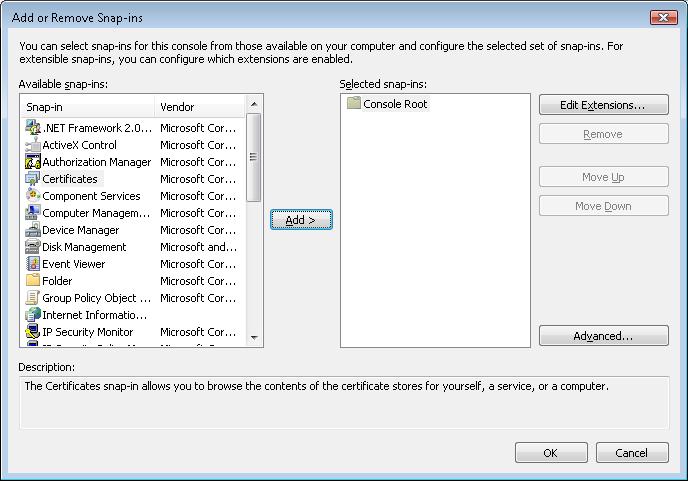
In the Add or Remove Snap-ins dialog, select Certificates in the left column.
-
Click Add.
-
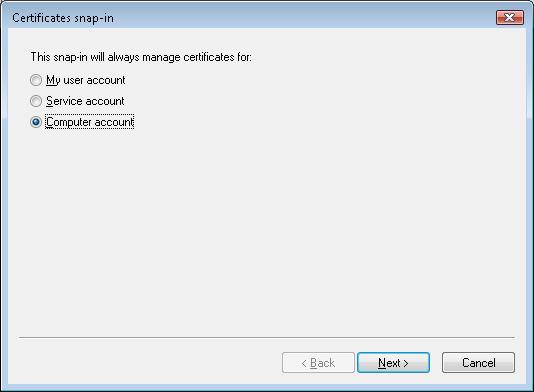
In the Certificates Snap-in step, select Computer account.
-
Click Next.
-
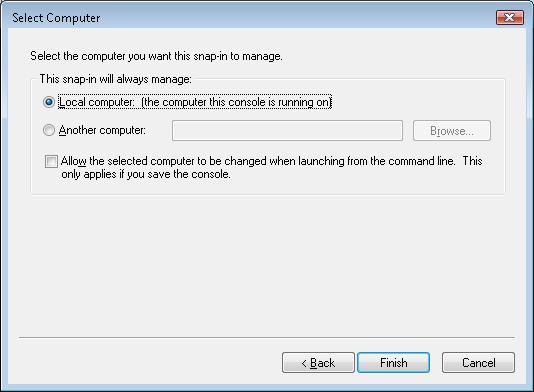
In the Select Computer step, select Local Computer.
-
Click Finish.
-
Click OK in the Add or Remove Snap-ins dialog.
-
In the MMC Console, expand the Certificates node under Console Root.
-
Expand the Trusted People node.
-
Select Certificates and, from the right mouse button menu, choose All Tasks then Import.
-
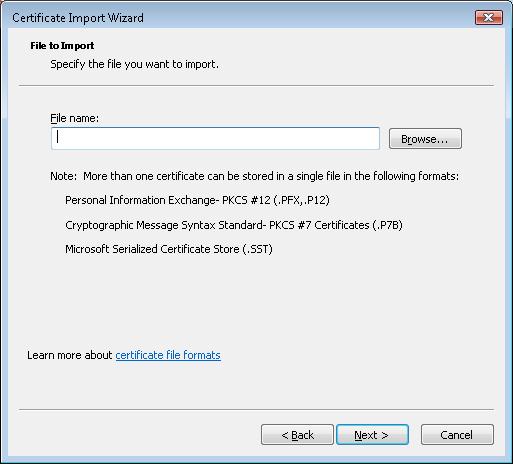
In the Certificate Import Wizard, select the X.509 certificate file you generated for Syniti DR.
-
Click Next.
-
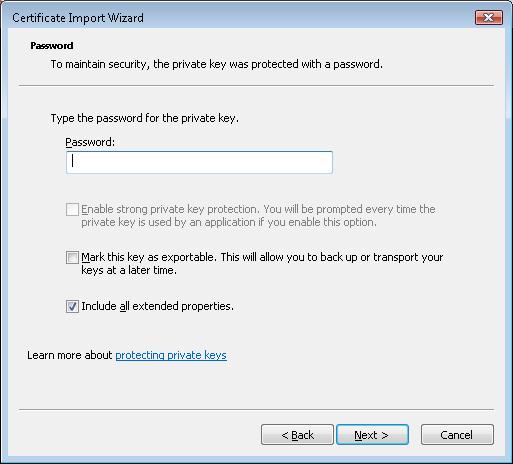
Enter the password for the certificate.
-
Click Next.
-
As needed, select the certificate store location.
-
Click Finish to complete the wizard.
-
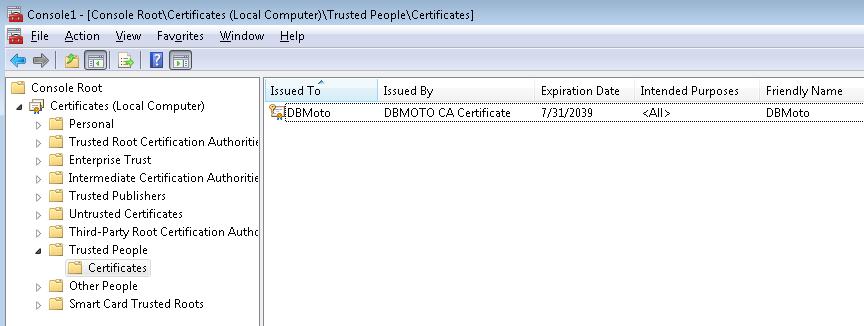
To view the certificates installed, expand the Certificates node in the MMC and expand the Trusted People node.
Installing Certificates for Certificate Authentication
-
On the system where the Server Agent is running, open a Microsoft Management Console (MMC) from the Windows Command tool by typing mmc.exe at the command line.
-
In the MMC console, from the File menu, select Add/Remove Snap In.
-
In the Add or Remove Snap-ins dialog, select Certificates in the left column.
-
Click Add.
-
In the Certificates Snap-in step, select Computer account.
-
Click Next.
-
In the Select Computer step, select Local Computer.
-
Click Finish.
-
Click OK to close the Add or Remove Snap-ins dialog.
-
In the MMC Console, expand the Certificates node under Console Root.
-
Expand the Trusted People node.
-
Select Certificates and, from the right mouse button menu, choose All Tasks then Import.
-
In the Certificate Import Wizard, select the X.509 certificate file you generated for Syniti DR.
-
Click Next.
-
Enter the password for the certificate.
-
Click Next.
-
As needed, select the certificate store location.
-
Click Finish to complete the wizard.
-
To view the installed certificate, expand the Certificates node in the MMC and expand the Trusted People node.
-
On the system where the Syniti DR Client (Management Center or custom application), open a Microsoft Management Console (MMC) from the Windows Command tool by typing mmc.exe at the command line.
-
In the MMC console, from the File menu, select Add/Remove Snap In.
-
In the Add or Remove Snap-ins dialog, select Certificates in the left column.
-
Click Add.
-
In the Certificates Snap-in step, select My user account.
-
Click Finish.
-
Click OK to close the Add or Remove Snap-ins dialog.
-
In the MMC Console, expand the Certificates node under Console Root.
-
Expand the Trusted People node.
-
Select Certificates and, from the right mouse button menu, choose All Tasks then Import.
-
In the Certificate Import Wizard, select the X.509 certificate file you generated for Syniti DR.
-
Click Next.
-
Enter the password for the certificate.
-
Click Next.
-
As needed, select the certificate store location.
-
Click Finish to complete the wizard.
-
To view the installed certificate, expand the Certificates node in the MMC and expand the Trusted People node.

Related Topics
User Settings Dialog
Client and Server Security Options